 Skip to content

What can you do with data in Dynamics 365 Business Central?
Well filtering and sorting! Filtering and sorting are powerful features in Business Central’s user interface that allow you to manipulate and organize data to meet your specific needs.
Let’s start with filtering. It’s like having a superpower to quickly narrow down the data you’re looking for. You can apply filters based on specific criteria, such as dates, amounts, or even custom fields. This helps you focus on the information that’s most relevant to your task or analysis.
Now, let’s talk about sorting. It’s like having a professional tool to arrange your data in a specific order. You can sort data in ascending or descending order based on various attributes, such as names, dates, or numbers. This makes it easier to identify patterns, trends, or prioritize your tasks.
Together, filtering and sorting give you the flexibility and control to manipulate and view your data in a way that makes sense to you. It’s all about customizing your view and getting the most out of Business Central’s user interface.
The answer is filtering and sorting are powerful features in Business Central’s user interface that allow you to manipulate and organize data to meet your specific needs. Filtering helps you narrow down the data based on specific criteria, while sorting helps you arrange the data in a specific order.
Here’s a brief overview of how you can filter and sort data within Business Central:
Sorting
Sorting List Pages:
- Click on column headers to sort data in ascending or descending order.
- Choose the drop-down arrow in the column heading, then choose the Ascending or Descending action.
- You can also sort data using more advanced options or multi-column and sorting in some list pages.

Filtering
Filtering List Pages:
- Basic Filter: Use the filter icon at the top right of a list page to apply basic filters. You can filter by specific fields and values.


Filtering within Documents:
- When working on specific records or documents (like sales orders, purchase orders, etc.), you can often filter within the page using search boxes or drop-downs associated with fields.

- Use specific fields to define your filter criteria. For example, you might filter sales orders by a specific customer, a date range, or orders with a certain status (e.g., ‘Open,’ ‘Closed,’ ‘Invoiced’).

- After setting your criteria, apply the filter. The list of sales orders will update to display only those that match the specified conditions.

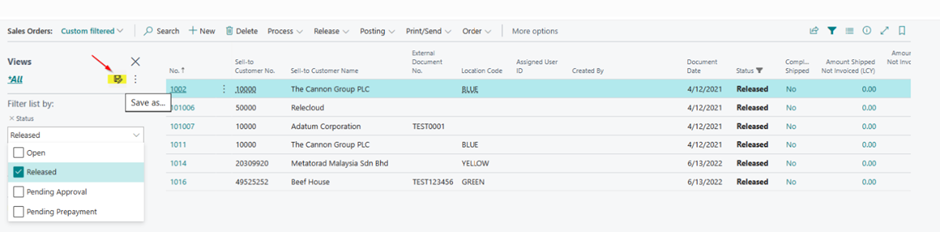
- Business Central offer the ability to save frequently used filters as Views, allowing you to access them easily without recreating the filter criteria each time.
Filter Totals
The “Filter Totals By” feature is a powerful tool that allows users to filter and customize the data they want to see within charts or lists, and summaries, making it easier refining data and viewing specific subsets of information relevant to their current tasks or analysis.

Filter Criteria and Operators
In Microsoft Dynamics 365 Business Central, when applying filters to data in lists or reports, you can use various signs or symbols to specify the filter criteria. These signs or symbols help in defining the conditions for filtering data effectively.
- Equal Sign (=): Denotes an exact match. For instance, when filtering a text field, using “=” filters for an exact match of the specified text.
- Not Equal Sign (<>): Represents “not equal to.” It filters records that do not match the specified value. For instance, if you use “<>” for a certain value, it filters out all records not equal to that value.
- Greater Than (>): Filters records where the specified field is greater than the value indicated. For example, filtering sales greater than a certain amount.
- Greater Than or Equal To (>=): Filters records where the specified field is either greater than or equal to the specified value.
- Less Than (<): Filters records where the specified field is less than the indicated value.
- Less Than or Equal To (<=): Filters records where the specified field is either less than or equal to the specified value.
- Containing Text (text): Filters text fields that contain the specified text within the provided asterisks (*). For instance, filtering for “apple” will find records that contain the word “apple” within a text field.
Sharing and Downloading
You can also share and download data from a list by either copying the URL at the top of the screen or clicking the Share icon.

Using the Share Icon a user has the following options:
Open in Excel: Here a user can open the list page in Excel.
Edit in Excel: Here a user can export the data to Excel and edit data in Excel and publish this back to Dynamics 365 Business Central.
Share to Teams: A user can share a link to the page with another user in Teams.
Copy Link: A user can copy the link to the page, including any filters, and share this with another user.
Check out our other blog “How to understand Dynamics 365 Business Central User Interface” for an overview.
If you’d like to learn more information about Dynamics 365 Business Central, then check out our page here or if you’re interested in in learning more then contact us.
Stay tuned for more insights and updates on our blog!


